FAQ
How do I add the Vimkit custom attribute to a Webflow form?
Step 1: Get the form's custom attribute
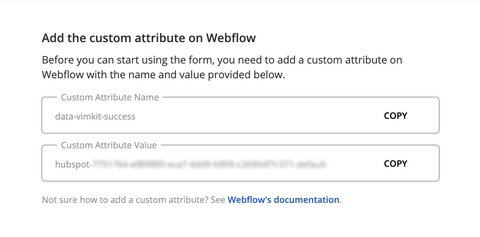
→Click 'Websites' and choose the website you want to add the custom attribute to.
→Choose the form that you want to use.
→Choose the form that you want to use.
Step 2: Add the custom attribute to the form on Webflow
→Go to Webflow, select the form element and add a custom attribute. See Webflow's documentation for details.
→Copy and paste the the custom attribute name and value from Vimkit on Webflow and click save.
Make sure you've selected the 'Form' element - not the Form block element.
→Copy and paste the the custom attribute name and value from Vimkit on Webflow and click save.
Step 3: Finally, publish your Webflow site and check if the data attribute was added correctly.
→Click publish on your Webflow site (see Webflow's documentation for details).
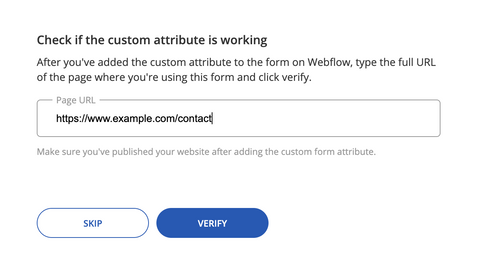
→Enter the full URL of the page where you are using the form and click 'Verify' on Vimkit. You'll see a confirmation if the custom attribute has been added correctly.
If you host your site somewhere else, export the code from Webflow and follow your standard process to publish your website.
→Enter the full URL of the page where you are using the form and click 'Verify' on Vimkit. You'll see a confirmation if the custom attribute has been added correctly.

